

In a world where everyone’s a photographer, why let those stunning RAW images languish on your camera? Transferring them to your iPhone can elevate your social media game from “meh” to “wow!” Imagine your friends’ jaws dropping as they scroll through your gallery of vibrant, detailed shots. Who doesn’t want to be the envy of their group chat?
Understanding RAW Photos
RAW photos capture unprocessed data directly from the camera’s sensor. These images maintain a higher dynamic range and more color information than JPEGs, allowing for greater editing flexibility. Photographers favor RAW because it preserves details in the highlights and shadows, essential for post-processing adjustments.
Photographic quality remains paramount for creative projects. A single RAW image can take up to 25MB or more, depending on the camera model. Such sizes provide room for extensive editing without losing quality, making them ideal for professional work.
Not all devices recognize RAW files. iPhones support various RAW formats including CR3, NEF, and DNG, facilitating seamless viewing and editing. Apps like Lightroom and Snapseed enable users to edit RAW photos directly on their iPhones, enhancing the mobile editing experience.
Transferring RAW photos requires careful consideration of file support. Devices equipped with enough storage can accommodate multiple RAW files, yet managing space becomes crucial as these images can quickly consume storage capacity. Users frequently find optimizing file transfers beneficial, particularly when working with large numbers of photos in different formats.
Compatibility remains essential when using different software. Different editing programs handle RAW formats differently, impacting how users manipulate colors and exposure. Choosing the right application for editing ensures that the raw essence of the photograph remains intact while allowing creative alterations.
Understanding RAW formats empowers users to make informed decisions about their photography. Enhanced clarity and detail benefit both amateurs and professionals, providing a solid foundation for creating stunning visual content.
Preparing Your Camera
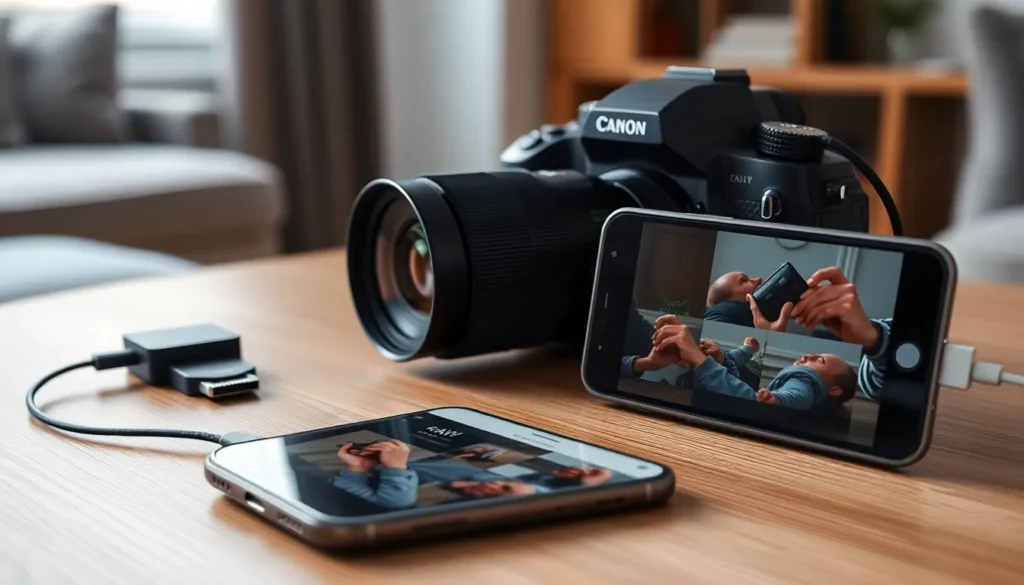
Preparing your camera ensures a smooth transfer of RAW photos to your iPhone. Confirming compatibility and gathering necessary equipment plays a significant role in this process.
Checking Compatibility
Verifying compatibility between the camera and iPhone is essential. Many cameras support various RAW formats, but not all formats may work with iPhone applications. Consult the camera’s manual or manufacturer’s website for details on supported formats. Ensure the iPhone’s operating system is updated to prevent transfer issues. RAW formats such as CR2, NEF, and ARW have different compatibility levels, impacting how images transfer and display on the iPhone.
Necessary Equipment
Gathering the right equipment simplifies the transfer process. USB-C to Lightning adapters accommodate direct connections between the camera and iPhone. Using SD card readers enables photographers to access files directly from the memory card. Consider external storage devices for managing large RAW files. Ensuring that the iPhone has sufficient storage space before starting the transfer is crucial, as RAW images can occupy substantial space.
Transfer Methods
Transferring RAW photos to an iPhone can be achieved through multiple methods. The following subsections outline effective techniques for seamless transfer.
Using a Lightning to USB Adapter
Connect a Lightning to USB adapter directly to the iPhone’s Lightning port to facilitate the transfer. It enables photographers to connect their camera directly to the device. Simply plug in the adapter, then connect the camera’s USB cable. iPhone prompts an import interface where users can select specific RAW images for transfer. Transferring multiple files simultaneously is possible, making the process efficient. Ensure the camera supports USB transfer, as not all models do. This method provides a fast and straightforward way to move large RAW files without relying on third-party apps.
Using Wi-Fi Transfer
Wi-Fi transfer offers a wireless alternative to import photos directly to the iPhone. First, enable Wi-Fi on both the camera and the iPhone. Many modern cameras come with built-in Wi-Fi or an app that facilitates this connection. Once connected, use the camera’s app to select and send RAW files to the iPhone. The type of Wi-Fi connection determines the transfer speed, which can vary significantly. Larger files may take longer to transfer; however, this method eliminates the need for cables. Ensure both devices stay within the Wi-Fi range to maintain a stable connection during the transfer process.
Using Third-Party Apps
Transferring RAW photos to an iPhone can benefit from the right third-party apps. These applications facilitate the process and enhance editing capabilities.
Recommended Apps
Lightroom and Snapseed are popular choices for RAW photo transfer and editing. Both apps support various RAW formats, allowing users to view and edit images seamlessly. Another option, Adobe Photoshop Express, also provides powerful editing tools for RAW files. Each app offers unique features, ensuring that photographers find the right tools for their needs.
Step-by-Step Guide
To transfer RAW photos using third-party apps, start by installing the chosen application on the iPhone. Connect the camera or SD card using an adapter. Open the app, and it often detects the connected device automatically. Select the RAW images for transfer and follow the prompts to complete the process. Users typically find that using Wi-Fi transfer features enhances convenience and speed, particularly when working with multiple images at once.
Tips for Managing Your Photos
Managing RAW photos efficiently on an iPhone requires strategic organization and editing skills. Users can enhance their experience by employing effective methods for both.
Organizing Photos on iPhone
Organizing photos on an iPhone helps photographers find and access their favorite RAW images quickly. Creating albums by themes or events simplifies navigation. Users can also utilize tags within third-party apps for better categorization. Regularly deleting unwanted photos prevents unnecessary storage use. Utilizing cloud services ensures images are backed up and accessible from multiple devices. Routine organization practices improve workflow and overall productivity.
Editing RAW Photos
Editing RAW photos provides greater control over image quality. Users can access highlights, shadows, and color adjustments more effectively in RAW format. Popular apps like Lightroom and Snapseed deliver advanced editing features tailored for RAW files. Both applications allow fine-tuning of exposure and contrast, making significant enhancements possible. Using selective editing tools enables users to focus on specific areas of an image. Frequent practice with these apps builds confidence and proficiency in photo editing.
Transferring RAW photos from a camera to an iPhone opens up a world of creative possibilities. With the right methods and tools in place users can effortlessly manage and edit their stunning images. Embracing the flexibility of RAW formats not only enhances the quality of photos but also enriches the editing experience. By staying organized and utilizing third-party apps users can streamline their workflow and maximize the potential of their photography. Whether for social media or professional projects understanding these processes empowers photographers to showcase their best work with confidence and flair.


